Getting started with Starwhale Cloud
Starwhale Cloud is hosted on Aliyun with the domain name https://cloud.starwhale.cn. In the futher, we will launch the service on AWS with the domain name https://cloud.starwhale.ai. It's important to note that these are two separate instances that are not interconnected, and accounts and data are not shared. You can choose either one to get started.
You need to install the Starwhale Client (swcli) at first.
Sign Up for Starwhale Cloud and create your first project
You can either directly log in with your GitHub or Weixin account or sign up for an account. You will be asked for an account name if you log in with your GitHub or Weixin account.
Then you can create a new project. In this tutorial, we will use the name demo for the project name.
Build the dataset, model, and runtime on your local machine
Follow step 1 to step 4 in Getting started with Starwhale Standalone to create:
- a Starwhale model named mnist
- a Starwhale dataset named mnist
- a Starwhale runtime named pytorch
Login to the cloud instance
swcli instance login --username <your account name> --password <your password> --alias swcloud https://cloud.starwhale.cn
Copy the dataset, model, and runtime to the cloud instance
swcli model copy mnist swcloud/project/<your account name>:demo
swcli dataset copy mnist swcloud/project/<your account name>:demo
swcli runtime copy pytorch swcloud/project/<your account name>:demo
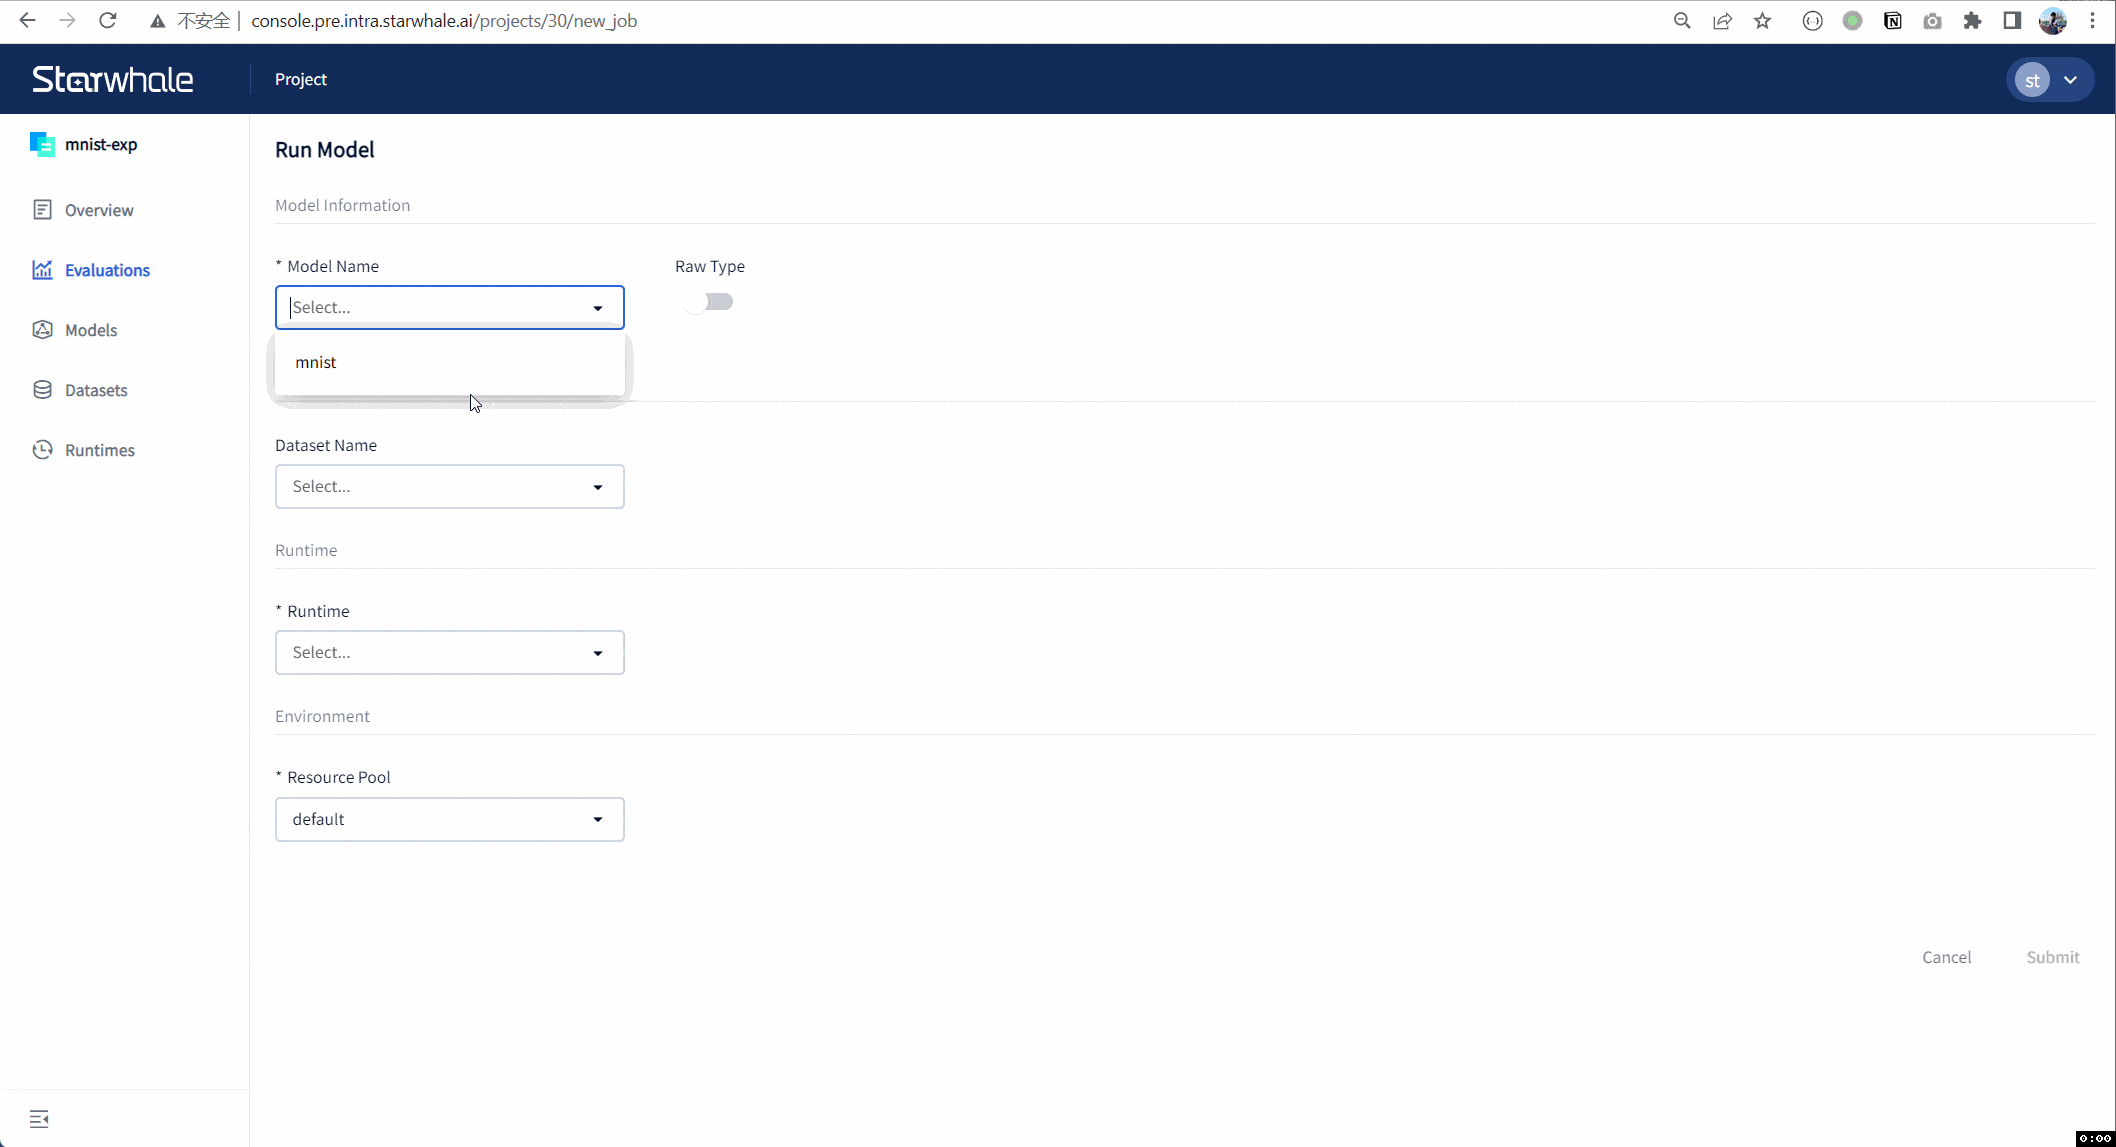
Run an evaluation with the web UI
Congratulations! You have completed the Starwhale Cloud Getting Started Guide.